Recently I wrote about the differences between the classic way of generating Word templates vs the new way of managing this via the Power Platform Admin Settings (blog here). This was discussed in the Power Platform BOOST Podcast (Power Platform Boost Podcast) from Nick Doelman and Ulrikke Akerbæk and Nick mentioned that he always uses Power Automate Flow with the Office Connector approach. This triggered me to investigate this approach since I had limited experience with this approach and wanted to see what the pros and cons are for each of them.
Using Word Templates the classic way
The traditional way of generating Word templates, which existed for a long time, can be done via the classic interface as well as the new Power Platform Admin Settings experience. I will use the new approach to explain how to do this. Follow the next steps:
- Create a Word template
- Navigate to the Power Platform Admin Settings
- Find Templates in the menu and select Document templates

2. Select +New > Download Word Template in order to create a new template
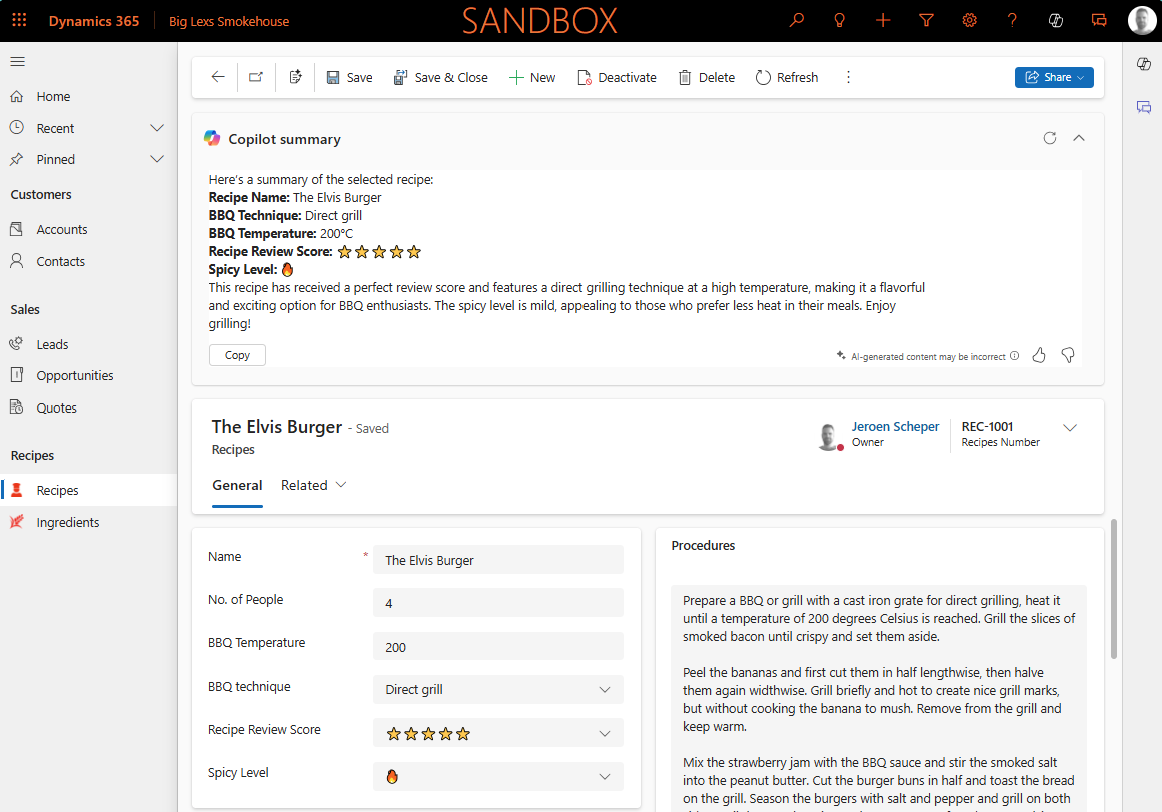
3. In my example I would like to generate the template for a quote document, therefore I have chosen
the following values:
– Entity = Quote
– 1:N Relationship = Quote Line
– N:1 Relationship = Account and Contact
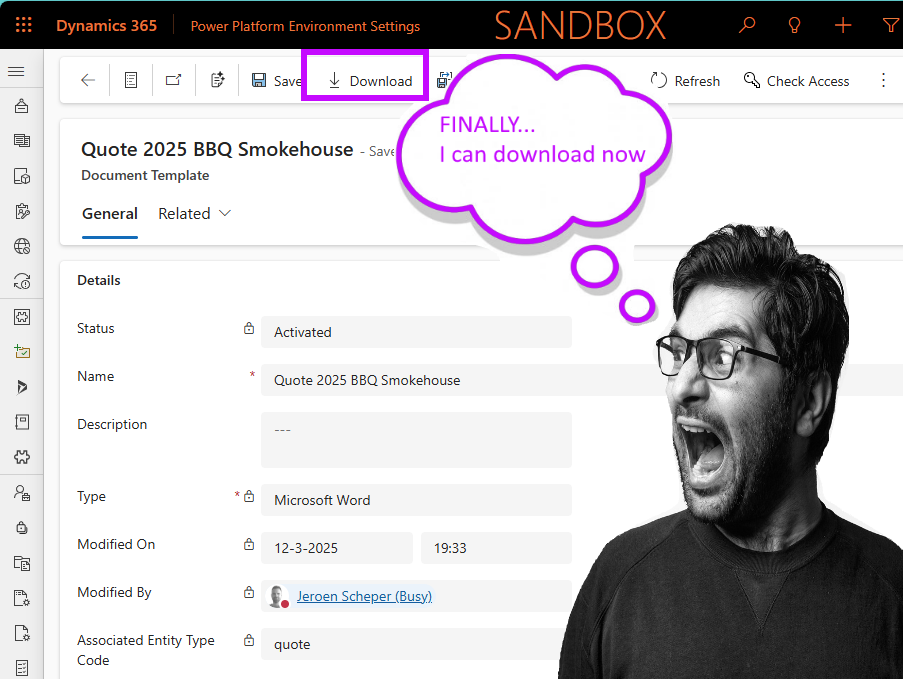
4. Select Download
Design the template the classic way
In this blog post, I do not want to focus too much on how to build the template itself, but more on how to do it in general and what the pros and cons are. In essence, when the template is downloaded you can design the template, in our case quote document, to whatever you want to.
Just make sure you have the Developer tab available, click XML Mapping Page, select the template created and you get all the tables and columns on the right side. Pick the spot in Word where you want to add a field and select Insert Content Control > Plain Text.

Once you are happy with the design it is time to upload to the document. Select Upload Template > Upload Word Template and select the file, Et Voila.

Using Word templates the classic way
When you are now navigating to a quote record, there is an option on the menu called Export to PDF. This allows you to select the different Word templates that are available for the entity you are on. What I like most about this option is that you can preview the quote straight away. On top of this, you can:
- Download the quote document as PDF
- Send as an Email with the quote document attached to it in PDF
- Save to SharePoint if you have set this integration up

The alternative would be to navigate to Word Templates in the menu bar and select the template you want. This would download the file to your download folder in Word format.
Generating Word templates the Power Automate way
The Power Automate way has some similarities to the classic way of doing things. There are some pros and cons for this path, depending on your use case this might be better for you. Without going into too much detail since I want to focus on what according to me are the pros and cons, the following is what you need:
- Word template
- Location to store the templates
- Power Automate Flow
The process of creating a Word template is almost the same as following the traditional steps. The first step is to make sure you have the Developer tab available and then it will be a bit different.
The first step is to find the place where you want to insert a control, then select Plain Text Content Control in the Controls section and give it a name, in my example ContactFullName.

The next step would be to select Properties in the Controls sections and select the Title and Tag

The next item that needs to be sorted is the location of where we store the Word template, this could be SharePoint for example, or in my example I will use OneDrive. This is needed so that when you are building the Power Automate flow you know where to find the Word template 😎
The last thing you need is a Power Automate flow that will collect all the data you want to present in your Word document, get the Word template you just created, and then finally map the data. In the example below I kept it simple when it comes to the amount of data collected from the different tables.

Within the Power Automate Flow above I will highlight the 3 steps which I believe are interesting to share. If you want to know more about the other steps, feel free to send me a message and I will be happy to explain the other steps.
The Select statement (within the Data Operation category) allows you to fill an array, in my example with quote lines. The From does contain the output of the Get Quote Lines records step which is a list of quote lines.

The Populate a Microsoft template step allows you to select your Word template and then map the data against it. The array created in the previous step you can now use as the input for the Quote Lines of our document. In order to do this, you need to change the Details view to the Array item by clicking on the button marked in the red section.

In the last step, in my example Create file, you can decide where you want to store the output, your Word document, and what the naming convention of the file should be. I have used OneDrive and the quote number to be the file name.
You can now trigger the Word document creation process manually by navigating to your record and selecting the following from the menu: Flow >Run > Generate Quote BBQ Smokehouse.

Classic vs Power Automate
Now you know high-level how both of these options work, it is time to compare them. Within my review, I tried to take into consideration doing as little customization as possible.
| Scenario | Winner | Reasoning |
| Accessing the feature, User-friendly way of triggering it manually | Classic 💚 | Having the ability to preview the output as well as directly emailing is very nice. Triggering the flow manually via the flow section does not feel user-friendly |
| Imagine a new column was deployed to a table and you wanted to have this on your document. Classic would require you to re-generate the document, but Power Automate would require you to deploy the flow as well. | Power Automate 💙 | With Power Automate you can define the trigger criteria of course, with the limits of the triggering conditions of Dataverse connectors. |
| Preview your document | Classic 💚 | Being able to see the document before generating it is a great feature of the classic |
| Easy to work with multiple templates | Classic 💚 | Classic wins because of the ability to search in the list of templates. This is probably also possible with Power Automate but requires customization like for example a custom page |
| Data available to present in Word template | Power Automate 💙 | The classic only allows you to go one level up, one level down from the core record identified. Power Automate gives you a lot more flexibility |
| Addition of new columns When adding new columns to the table, easy to include them in the output? | Classic 💚 | Imagine a new column was deployed to a table and you wanted to have this on your document. Classic would require you to re-generate the document, but Power Automate would also require you to deploy the flow as well (easy to forget perhaps). |
| Design your Word template | Both | Both are as good as the limitations of Microsoft Word |
| Controlling output to Store where you want and in what format | Power Automate 💙 | Imagine a new column was deployed to a table and you wanted to have this on your document. Classic would require you to re-generate the document, but Power Automate would also require you to deploy the flow as well. |
| Controlling the order of iterative records | Power Automate 💙 | Classic does not allow you to control in which order the lines are displayed on the document. This can be very frustrating, with Power Automate you do control that. That can be painful if you have just put lots of effort in updating Line Numbers of your Quote Lines and then seeing a different output 😤 |
| Use all the characters you want in the output | Power Automate 💙 | Probably not a lot of people would know, but the < > brackets are not allowed to be part of item codes or descriptions. Once generating output, any text in the middle will be left out. Very annoying when you sell products with product codes that have that as industry standards |
As you can see this is very close if you ask me. Using Word templates can be handled in different ways and I know there are (paid) Power Automate Flow connectors that can also do great stuff. If you have criteria that are not listed above or have different experiences with the analyses then I would love to hear this of course. Personally speaking, the last two criteria are really frustrating me with the classic way. But moving all templates to the Power Automate way is also a decent exercise and you do lose some of the user-friendliness experience unless you go “completely custom” by building a custom page on top of it.